

### Blog Post:
Vintage home restoration offers homeowners a rewarding way to protect history, boost resale value, and decorate with materials you can’t buy new—without wrecking your budget or the soul of your home. If you’re tackling a 1900–1950s house, this step-by-step guide demystifies preservation, from hardwood floors to plaster walls, so you avoid overspending and hasty mistakes.
Key Takeaways
- Hardwood floor restoration and plaster repair have clear price bands—expect $8–$12/ft² for pro floor work and $2–$5/ft² for DIY plaster supplies in 2024.
- Sourcing salvaged materials takes planning and patience; their cost varies but adds authenticity you can’t get from big-box stores.
- Know what to restore vs replicate and when to call a preservation pro—making the right call saves time, money, and historic character.
- Why preserving original character matters
- Quick project budget & timeline primer for vintage home restoration
- Original hardwood floor restoration — what to expect (costs, timeline, decisions)
- Plaster wall repair DIY — scope, costs, common methods and pitfalls
- Sourcing salvaged materials and cost expectations
- Common mistakes & challenges when preserving original character (and how to avoid them)
- Top 3 expert tips missing from current guides
- Sample mini-project plan (500‑sq‑ft living room: floors + plaster + trim)
- When to hire a preservation pro (and how to find one)
- Quick checklist & resources
- FAQ
Why preserving original character matters
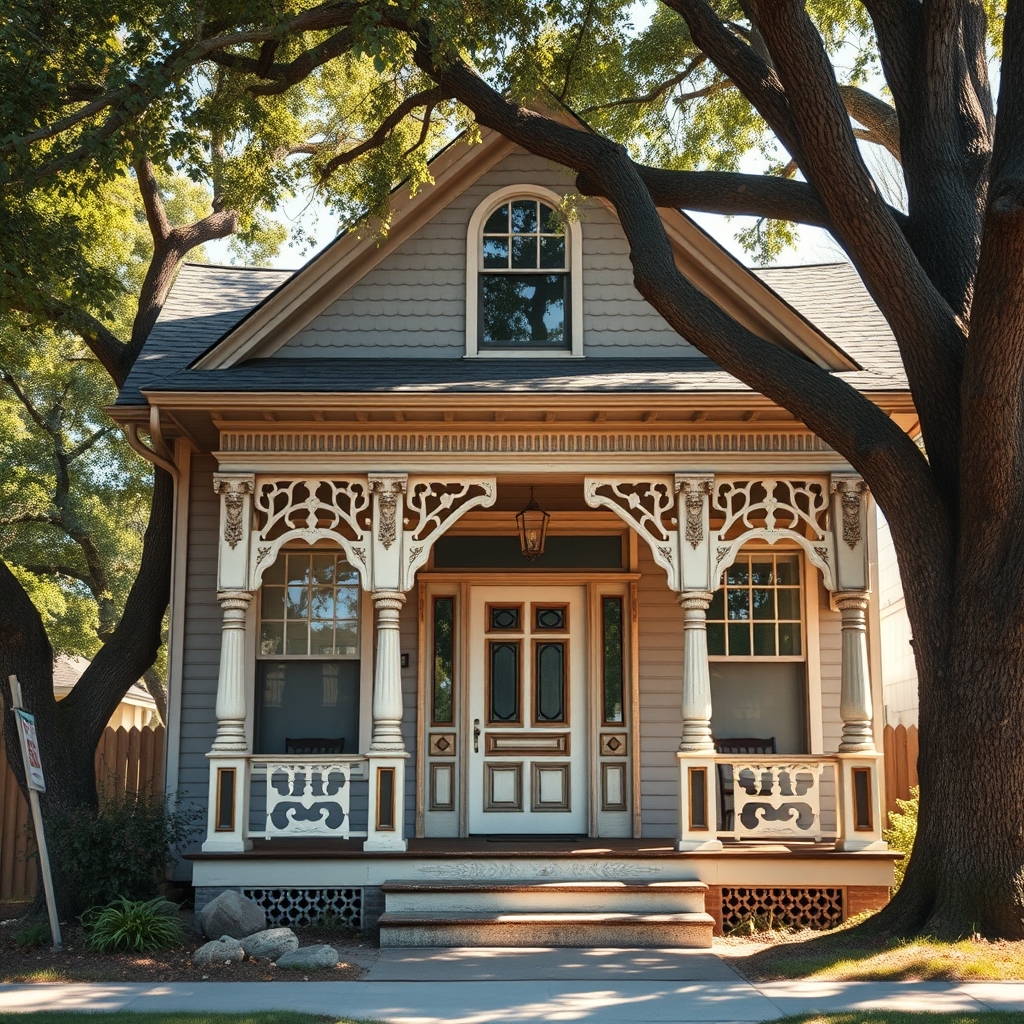
Restoring original details is the heartbeat of vintage home restoration. Beyond just looks, maintaining features like classic trim, hardwood floors, and plaster walls increases resale value and keeps your home from losing the qualities that made you fall in love with it. According to leading restoration sources, buyers often pay premiums for unspoiled historic interiors. Every decision to patch, replace, or replicate affects your project’s scope and cost. Sometimes reproduction materials make sense (like mass-produced moldings), but whenever possible, preserving originals protects both your home’s genuine story and your wallet in the long run.
Quick project budget & timeline primer for vintage home restoration
Historic homes need careful planning to avoid blowing budgets or timelines. Here’s what to expect for the most common preservation jobs in 2024:
- Hardwood floor restoration: Professional sanding, staining, and finishing runs $8–$12 per square foot. For a 500‑foot room, that’s $4,000–$6,000, typically 3–5 days of labor with 1–2 days extra for curing. More intricate repairs can stretch up to 14 days.
- Plaster Wall Repair DIY: Expect to pay $2–$5/ft² for supplies (joint compound, lime plaster, tools). DIY is good for cracks and minor issues; full professional replastering is more costly and complex.
- Lead Time: Salvaged material sourcing is unpredictable—build in extra weeks to find matching wood, doors, or hardware.
Always sequence messy jobs (floors, plaster) before painting or trim to avoid redoing finished work. For creative ways to upgrade without demolishing, see our rental friendly renovation guide.
Original hardwood floor restoration — what to expect (costs, timeline, decisions)
Hardwood floors are often the crown jewel in vintage home restoration. Here’s how to decide your best approach:
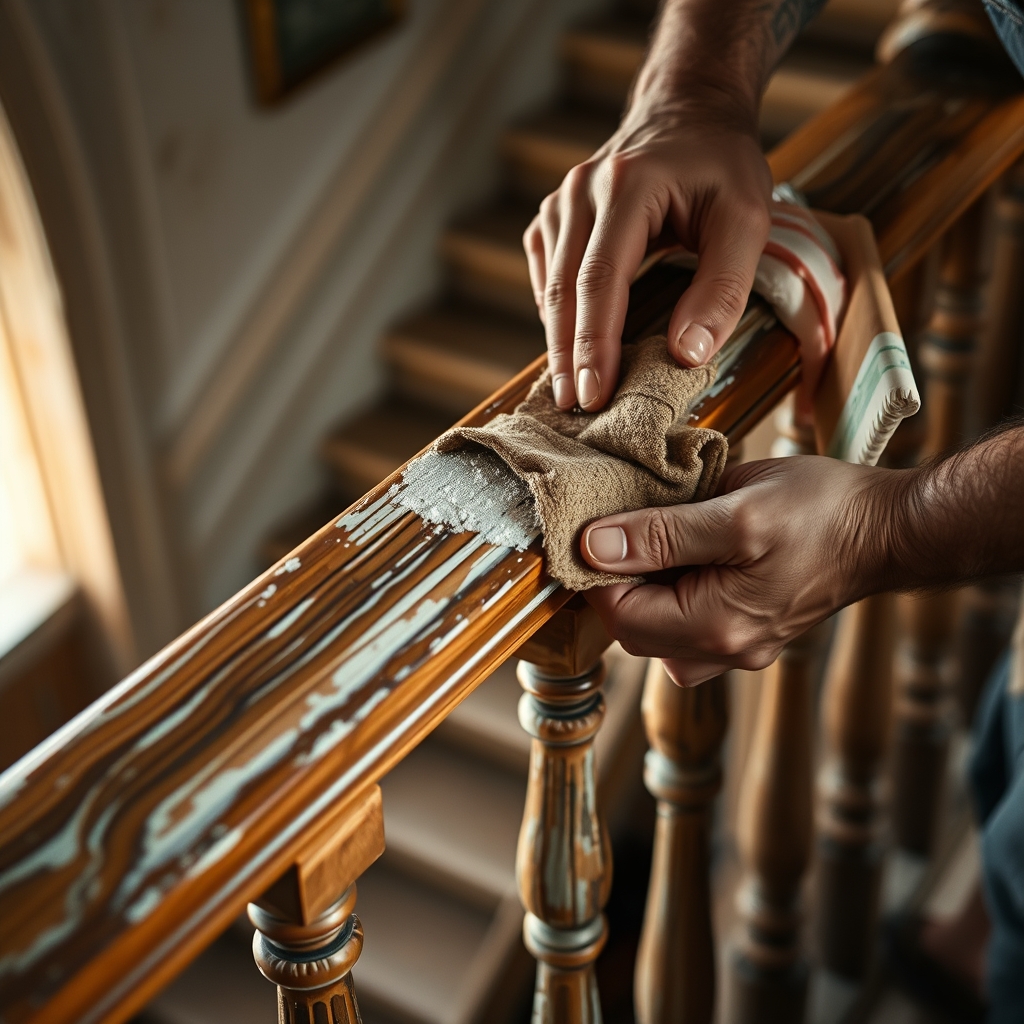
- Sanding and Refinishing: When boards are level and just scratched or yellowed, sanding and applying new stain/urethanes costs $8–$12/ft². You’ll need to clear the room, fill gaps, and plan for 3–5 days of labor. Don’t rush: the final topcoat needs 24–48 hours undisturbed for curing.
- Board Repair or Partial Replacement: Replace only boards that are split, cupped, or missing—avoid “over repairing.” Matching vintage grain is easier if you work with local salvage yards—see our thrift flip furniture guide for sourcing tips.
- DIY vs Pro: DIY sanding saves money but risks uneven spots, swirl marks, and damaging original nails. Professional crews include dust control and can repair minor subfloor issues. For jobs under 200 sq. ft., DIY is reasonable; larger jobs and repairs typically go better with pros.
Don’t forget: If you’re updating electrical or fixing squeaks, do that before finishing floors!
| Approach | Average Cost (500ft²) | Pro/DIY | Typical Timeline | Risk Level |
|---|---|---|---|---|
| Pro Sand & Refinish | $4,000–$6,000 | Pro | 3–5 days +1–2 days cure |
Low |
| DIY Sand & Refinish | $1,300–$2,000 (tools & basic finish) | DIY | 5–10 days (learning curve) |
High |
| Board-by-board repair | Varies ($2–$10/board + labor) | Pro/DIY | +1–3 days | Medium |
Plaster wall repair DIY — scope, costs, common methods and pitfalls
Old-school plaster walls add instant charm but need special care. For hairline cracks or small holes, joint compound or premixed patching plaster ($2–$5/ft² for a typical room with supplies) is quick for moderate DIYers. For large-scale repairs or where entire sections have come loose (“delamination”), lime plaster is more authentic but trickier to apply and more costly per square foot. Structural cracks or bulging walls usually demand a pro with heritage experience. Not sure if it’s a DIY job? Tap the wall—if it sounds hollow or flexes, call a contractor. For a smart upgrade, see our walkthrough on updating heat pump water heaters before sealing walls back up.
Sourcing salvaged materials and cost expectations
Nothing beats the patina of original doors, moldings, and hardware. The best places to find matching parts:
- Architectural salvage yards (local and regional—call ahead for inventory)
- Online salvage and auction marketplaces (e.g., eBay, Craigslist, Olde Good Things)
- Deconstruction contractors (homes being dismantled in your city)
- Reclamation stores and Habitat for Humanity Restores
Salvaged materials for renovation are priced by rarity, quality, species, and demand. A salvaged 1930s door may range from $50–$400 unstripped. Trim typically costs $2–$6 per linear foot. Transportation and site prep add to overall expense—budget extra for stripping, fitting, or repairs, and be ready for time delays. For reuse inspiration, check out our compact smart home accessories post on adapting old finds.
Common mistakes & challenges when preserving original character (and how to avoid them)
Many homeowners risk permanent damage or added costs by:
- Over-sanding hardwoods, thinning floors almost to the tongue, or using rough tools that leave visible marks.
- Replacing plaster with drywall instead of patching, ruining the acoustic and visual appeal.
- Using modern, incompatible finishes that yellow or peel.
- Removing historic trim and windows unnecessarily—always try to repair first.
- Poor documentation of “before” conditions, making it hard for pros to match repairs if you get stuck.
- Sequencing projects in the wrong order (e.g., painting before floor sanding, so beautiful new paint gets coated in dust).
Careful planning, matching period materials, and taking photos before you start are the secrets to successful historic home renovation tips.
Top 3 expert tips missing from current guides
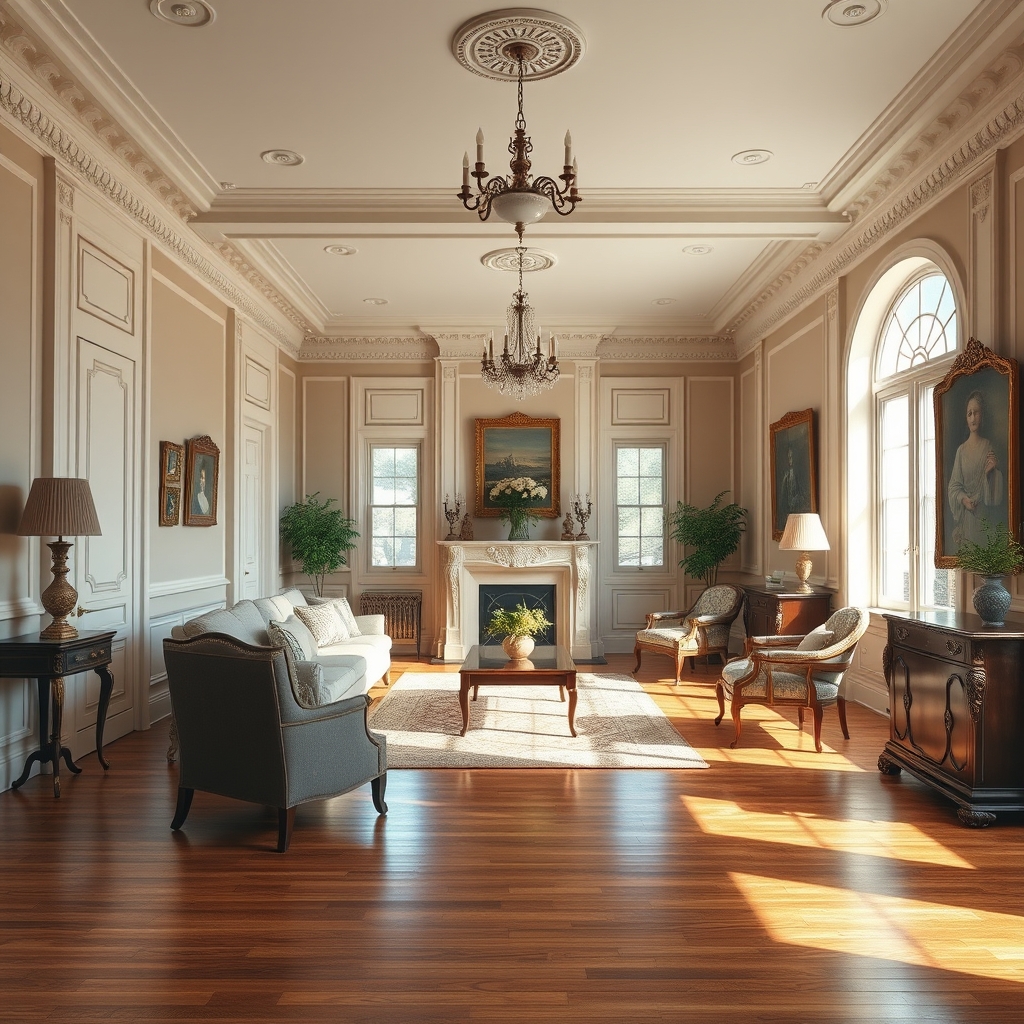
- Decision Framework: Restore or Replicate? Always ask: How visible is the feature? Is it rare or standard? Does repair cost less than 1.5x the best reproduction? Repair what’s historic and visible; replicate when hidden, unsalvageable, or easily matched.
-
Scheduling Sequence Matrix:
- First: Structural, plumbing, and electrical updates
- Then: Plaster and wall repairs
- Next: Floor sanding and finishing
- Last: Painting, trim, and hardware restoration
Ignoring this flow almost guarantees costly “do-overs.”
- Salvaged Material Workflow: Inspect in-person (when possible), reserve items (put down a deposit), measure transport access (are stairways or doors big enough?), store materials in a dry spot, and plan for cleaning/repair before install.
If you want more real-world insight on reuse strategies, our guide on thrift flip furniture explores how pros decide what’s worth restoring.
Sample mini-project plan (500‑sq‑ft living room: floors + plaster + trim)
Step-by-step sequencing
- Conduct condition survey and take photos of floors, plaster, and trim
- Address electrical or subfloor issues first (if any—plan +1 day if needed)
- DIY patching of minor plaster cracks and holes ($1,000–$2,500 supplies; 3–4 days plus cure)
- Hire pro for hardwood floor sanding/finishing ($4,000–$6,000; 3–5 days labor, 1–2 days cure)
- Touch up paint, reattach or renew trim with salvaged wood ($200–$1,000 depending on source and finish)
- Final cleaning and move furniture in after all finishes have cured
Estimated budget & timeline summary
- Plaster wall repair DIY: $2,000 (avg) in materials
- Professional floor restoration: $5,000 (avg)
- Salvaged trim/doors: $500 (avg, highly variable)
- Total: $7,500 (plus a 10–15% contingency)
- Total time: 8–14 days from start to finish, if scheduled tightly
DIY vs Pro Call: If you have basic patching and finish skills, do plaster work yourself; leave major floor restoration to a trusted professional.
When to hire a preservation pro (and how to find one)
Hire a professional if you find:
- Wide or structural cracks in walls
- Extensive plaster delamination (soft, bulging wall areas)
- Hardwood boards narrower or thicker than common replacements
- Water, insect, or fire damage affecting multiple areas
Look for contractors with “historic preservation” experience, heritage references, and clear before‑after project photos. Always ask:
- How do you plan to match/grain existing material?
- What’s your process for dust control in lived‑in spaces?
- How many historic projects like mine have you completed?
Get bids in writing and compare project scopes—not just lowest price.
For ideas to blend old with new, see our primer on apartment-friendly updates.
For more on cost/timeline expectations, see this research report.
Quick checklist & resources
- Condition Survey: Inspect & photograph all features before touching anything.
- DIY/Pro Decision: Use the cost ranges ($8–$12/ft² for floors, $2–$5/ft² for plaster) as your budget guide.
- Contractor Interviews: Prepare written questions on period restoration, material matching, and references.
- Salvage Sourcing: Call ahead, measure for fit, reserve pieces, arrange safe transport, clean and prep items offsite.
- Contingency Fund: Add 10–15% to your budget for surprises—hidden water or rot is common!
More templates and actionable guides:
- Thrift Flip Furniture: Profit-boosting hacks
- Smart Home Retrofits (for vintage houses)
- Vocabulary of preservation
For a printable worksheet, note the main cost bands and your suppliers before starting any demolition.
Conclusion
Restoring an older home is about thoughtful choices. With careful planning, transparent cost and timeline tracking, and a clear sense of when to DIY or hire pros, you can make vintage home restoration both affordable and authentic. Ready to protect your home’s history—and its future value? Start your project checklist and connect with local salvage yards or a preservation pro now.
FAQ
Is it cheaper to restore or replace original features in a vintage home?
In most cases, it costs less to repair and refinish original features—especially floors and plaster—than to replace them with new. Restoration preserves value and authenticity, but if features are too damaged or missing, high-quality reproduction may make sense.
How do I find matching salvaged materials?
Start with local architectural salvage yards and online salvage marketplaces. Bring measurements and photos, and be ready to strip paint, sand, and finish pieces for a perfect match.
What are the biggest risks in DIY vintage home restoration?
The main risks are damaging historic details with power tools, improperly sequencing repairs, and taking on repairs (like structural or lead paint work) best left to pros. When in doubt, ask for advice before you demo anything.
How do I budget for surprises in vintage home restoration?
Always add at least 10–15 percent contingency to your renovation budget. Allow time for delays in sourcing, matching, and curing materials—especially if using salvaged parts.
When should I call a historic home professional?
Call a pro for structural problems, extensive plaster damage, or if you’re unsure how to safely handle old finishes. Look for contractors with proven experience in homes from your era.