

### Blog Post:
DIY home energy audit methods offer one of the fastest routes for cost-conscious homeowners to detect energy waste, reduce utility bills, and prioritize affordable improvements—no hype, just step-by-step results you can measure.
Key Takeaways
- A DIY home energy audit can reveal up to 10–15% of your home’s total energy losses, mostly from drafty gaps, poor insulation, and unnecessary device loads.
- Acting on audit findings delivers 5–30% utility bill savings, often with simple fixes like weatherstripping, caulk, LED swaps, and unplugging “phantom” devices.
- Always respect safety boundaries—do not seal around combustion appliances or tackle major electrical/insulation issues without consulting a professional.
- What a DIY home energy audit can realistically identify
- Quick tools & the step-by-step DIY audit checklist (what to do on day 1)
- Advanced analysis & common pitfalls: What to expect and avoid
- Conclusion: Getting results from your DIY home energy audit
- Frequently Asked Questions
What a DIY home energy audit can realistically identify
DIY home energy audits focus on the biggest sources of household energy waste you can find and address safely without specialized equipment or expensive pro help. Most homeowners discover:
- Drafts and air leaks around windows, doors, baseboards, attic hatches, and electrical outlets.
- Under-insulated attic, crawlspaces, walls, or rim joists.
- “Phantom” loads—devices that use power even when off (TVs, game consoles, chargers, old appliances).
According to 2024 estimates, a typical DIY audit uncovers 10–15% of a house’s energy waste in these categories. However, complex issues—like leaky ductwork, hidden insulation voids, combustion safety, or major electrical faults—are best left to professionals with diagnostic tools (source).

Setting realistic expectations means understanding that a DIY approach is about tackling the low-hanging fruit. Pro audits dig deeper using blower door tests and infrared cameras, but most bill-busting changes start with simple detection and repair.
Quick tools & the step-by-step DIY audit checklist (what to do on day 1)
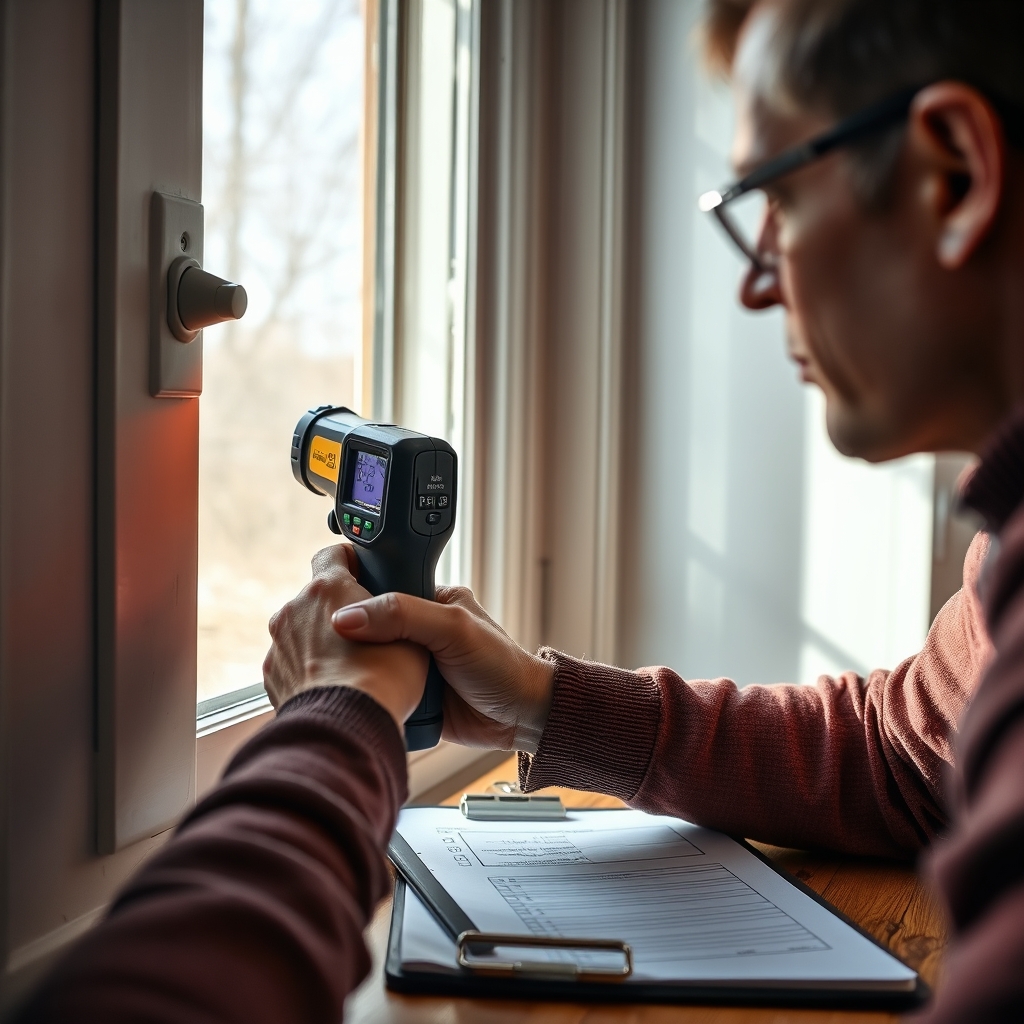
A focused DIY home energy audit takes one to two hours and helps homeowners rank energy leaks and waste in order of cost and comfort impact. Here’s how to get maximum results from your effort:
What You Need (Basic Tools)
- Flashlight (for spotting gaps in attic, crawlspaces, behind appliances)
- Stick of incense or a damp hand (to sense air leaks—if smoke or coolness moves, you’ve found a draft)
- Notebook/camera to document findings
- Your past 12 months of utility bills
Step-by-Step DIY Audit Checklist
- Walk slowly around exterior doors, baseboards, attic hatches, and windows. Hold the incense or hand near edges—smoke movement or a cool draft is a leak.
- Inspect attic insulation depth. Lift an attic hatch and check if insulation covers joists. Tap or measure depth; less than 12-14 inches may be below the recommended R-38 for many U.S. regions.
- Scan for “phantom” loads. Unplug rarely used electronics or use a smart plug with an energy monitor. Devices with glowing LEDs or chargers that feel warm when “off” are often wasting power (standby loads can be up to 16% of your bill).
- Check heating/cooling filters and ducts for buildup, leaks, or loose connections. Clogged filters or gaping ducts waste energy and strain equipment.
- Backtrack utility bill spikes or patterns. Identify sudden increases or seasonal jumps; these help prioritize fixes by impact.
Tackling the Top Offenders
- Seal detected air leaks with removable weatherstripping or caulk (for small cracks).
- Replace any remaining incandescent or CFL bulbs with LEDs—these cut your lighting energy by up to 90% (source).
- Adjust thermostat by three to five degrees lower in winter; two to three higher in summer (for every degree, save about 5%).
- Unplug or add a switched power strip for clusters of countertop or home theater devices.
Switching to a heat pump water heater or adding compact smart home accessories can further increase energy savings and control, but start with the basics outlined above for the fastest payback.
Advanced analysis & common pitfalls: What to expect and avoid
No two audit checklists are the same, but most renters and homeowners hit similar sticking points. Here are realistic trouble-spots and how to avoid costly or risky mistakes:
| Common Problem | What Can Go Wrong | How to Avoid/Prioritize |
|---|---|---|
| Draft proofing windows DIY | Missing fine leaks, over-applying foam or caulk, causing sticky windows or poor operation | Use incense or the “damp hand” method for detection, go slowly, never seal shut moving parts. For gaps larger than 1/4 inch, use backer rod or foam before sealing. |
| Insulation checklist mistakes | Compressing insulation, blocking ventilation, missing rim joists, failing to reach minimum R-values (attic R-38) | Never pack insulation tightly or block attic ventilation. Measure depth and double-check coverage. |
| Sealing around combustion appliances | Potential for hazardous backdrafting (pulling carbon monoxide or flue gases indoors) | Never seal or insulate around furnaces, water heaters, or vent pipes without professional inspection. Use carbon monoxide detectors near appliances. |
| Overlooking attic bypasses | Missing open wall tops, wire/pipe holes, can lights—these leak huge air volumes | Seal holes around pipes/wires in attic floor using expanding foam. Cover and insulate can lights designed for insulation contact (IC-rated only). |
| Poor documentation | Cannot track what works—risk of repeated fixes or missed savings | Photograph every “before”/“after.” Record dates and energy bills to compare trends. |
Many energy-saving projects are simple but not foolproof. If in doubt, consult your utility or a pro for guidance before sealing or insulating near combustion sources.

For more targeted info on specific energy hotspots in older homes, see our guide on vintage home restoration—a valuable cross-reference for common insulation and air sealing mistakes.
Conclusion: Getting results from your DIY home energy audit
The steps above show you don’t need advanced skills—or a big budget—to cut utility bills, boost comfort, and avoid energy waste. By following a practical DIY home energy audit, most homeowners realistically achieve five to thirty percent annual savings, with the highest returns from draft sealing, modest insulation projects, switching to LEDs, and tackling “phantom” device loads. Start with the checklist, act on findings, prioritize safety, and revisit progress after three months for continual improvement.
Don’t wait for the next bill spike. Take control with a diy home energy audit today—and check out our LED strip lights room makeover guide or boost safety with grip tape stair treads for other affordable home upgrades that pay back every day. If you hit a snag with air leaks, insulation, or combustion appliances, call a qualified pro for a full assessment.
Frequently Asked Questions
How much money can I really save with a DIY home energy audit?
Most homeowners save five to thirty percent on energy bills by acting on findings—typically $100 to $600 per year for an average US home. Actual savings depend on how many issues you detect and fix. Quick wins like sealing drafts and replacing bulbs can pay back within months.
What is the most common source of energy waste I can fix myself?
Drafty doors and windows, under-insulated attic spaces, and unused devices left plugged in (“phantom loads”) are the top sources. These are all easy to spot during a DIY audit and typically represent over half of all addressable waste.
Is it safe to seal air leaks around my furnace or water heater?
No. Sealing too tightly around combustion appliances can trap dangerous gases (like carbon monoxide) inside. Always leave vents and clearances as required, and consult a qualified professional if you’re unsure. Install carbon monoxide detectors for extra safety.
Should I add insulation myself or hire a pro?
You can add attic insulation if you have reasonable access and follow manufacturer instructions. But for wall insulation, rim joists, or if you have any doubts about safe coverage levels, compressed spaces, or vapor barriers, call an insulation pro.
How can I track if my DIY fixes are really working?
Photograph “before” and “after” improvements, save your utility bills, and look for downward trends after one and three months. Many smart thermostats also provide usage reports that visualize savings. Documenting results helps you justify future upgrades or professional audits.
—