

### Blog Post:
Raised Garden Bed Kit sales are booming in 2024 because they solve real problems for home gardeners who want to grow vegetables without digging, backbreaking setup, or spending a fortune. If you’ve got terrible soil or limited space, a raised garden bed kit offers the simplest one-box solution for getting crops in the ground—as long as you avoid the common traps. Here’s how to choose, assemble, and plant the best kit for your budget and growing goals, with special tips for metal kits.
Key Takeaways
- The right raised garden bed kit saves time, makes planting easier, and avoids poor native soil—even in small urban yards or patios.
- Metal raised garden bed kits offer outstanding durability when you mitigate heat and assembly challenges.
- Choosing the right size, depth, and assembling properly are critical to long-term success and reducing headaches.
- Why raised garden bed kits are a smart buy in 2024
- Step-by-step raised garden bed kit setup guide
- Analysis: Real-world tradeoffs and pitfalls to avoid
- Summary: Making your bed (and growing in it)
- FAQ: Raised Garden Bed Kits
Why raised garden bed kits are a smart buy in 2024
Raised Garden Bed Kits are everywhere now—and for good reason. The global raised-garden-bed market hit roughly $439 million in 2024 and is set to reach about $455 million in 2025, growing 3.7% annually through 2033 (source). Kits have gone mainstream because:
- Quick setup: All-in-one systems fast-track you from box to planting in one afternoon. Forget renting tools or tilling poor soil.
- Soil control and better drainage: Raised garden beds solve the common pain of unworkable native dirt. You choose your soil and compost blend.
- Season extension: Soil warms faster in spring, letting you plant earlier and possibly harvest for longer.
- No heavy digging: Assembly replaces backbreaking tilling. Also, most kits are modular—expand or move later if your needs change.
With wood kits still dominating about 45 to 55% of sales, metal raised garden bed kits are gaining ground fast—upwards of 20% share and climbing (source). It’s never been easier or more affordable to upgrade your growing space, regardless of soil quality.
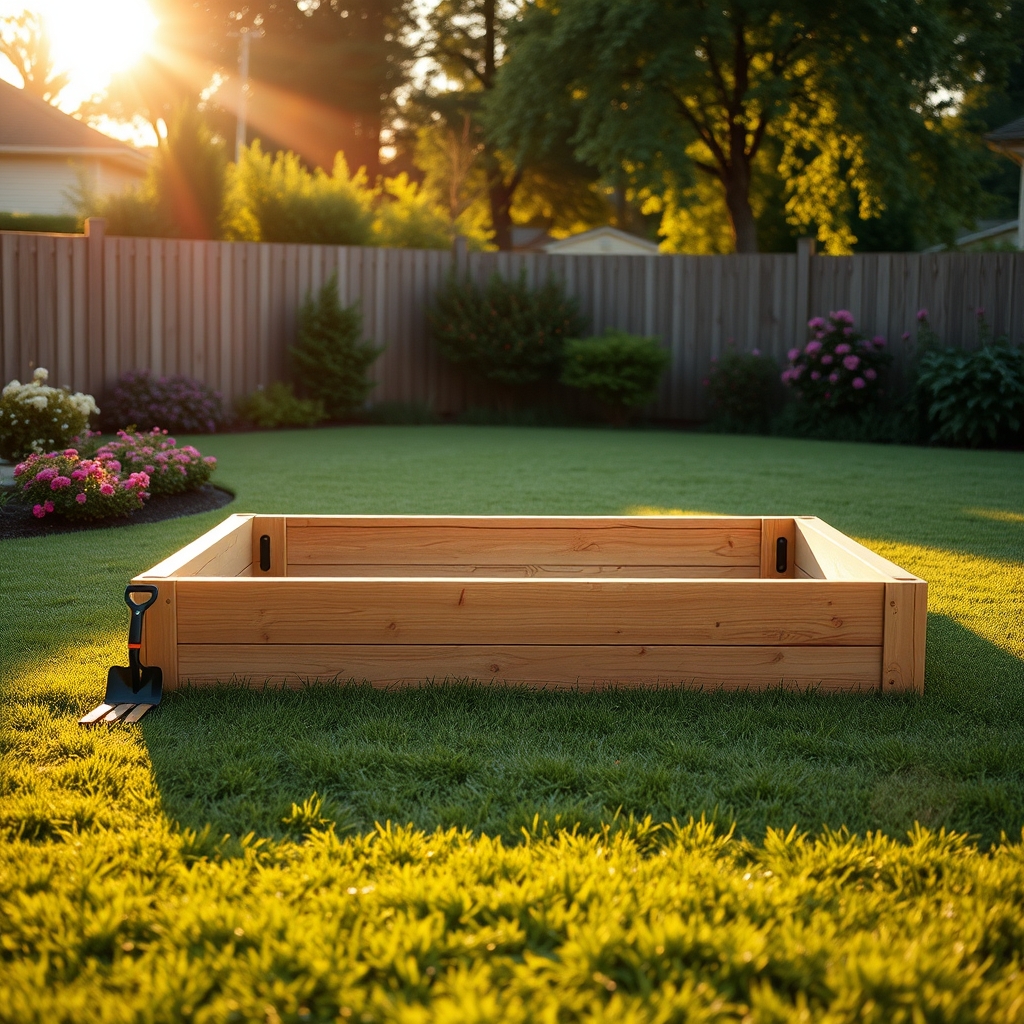
Step-by-step raised garden bed kit setup guide
If you’re shopping for a raised garden bed kit—especially one of the increasingly popular metal kits—the difference between a weekend win and a project fail comes down to the right prep, assembly sequence, and a few essential hacks.
- Pick the perfect spot. Find a flat, sunny location (6-8 hours sunlight is best for vegetables). Avoid low spots that puddle after rain.
- Check parts against instructions. Sort hardware by size/shape. Confirm you have all panels and screws. Missing pieces? Contact the seller before you get dirty.
- Pre-assemble: Attach the corners first. Pre-insert all bolts and nuts loosely so you can adjust alignment.
- Work methodically: Tighten bolts in a diagonal pattern for even stress. Rubber mallets help panels line up without damaging coatings.
- Seal seams: For metal kits, apply outdoor waterproof tape or clear silicone along interior seams to reduce soil leakage and water runoff. (Most experienced DIYers recommend this extra 5-minute step.)
- Install liner (optional but recommended): For metal raised garden bed kits—especially in hot or rainy climates—line interiors with felt or heavy-duty landscape fabric to reduce heat transfer and protect edges.
- Fill bed: Use a balanced mix: 50% quality garden soil, 30% compost, and 20% perlite or coarse material for drainage. Depth matters—see below for crop specifics.
- Water thoroughly. Pre-water soil to settle before planting.
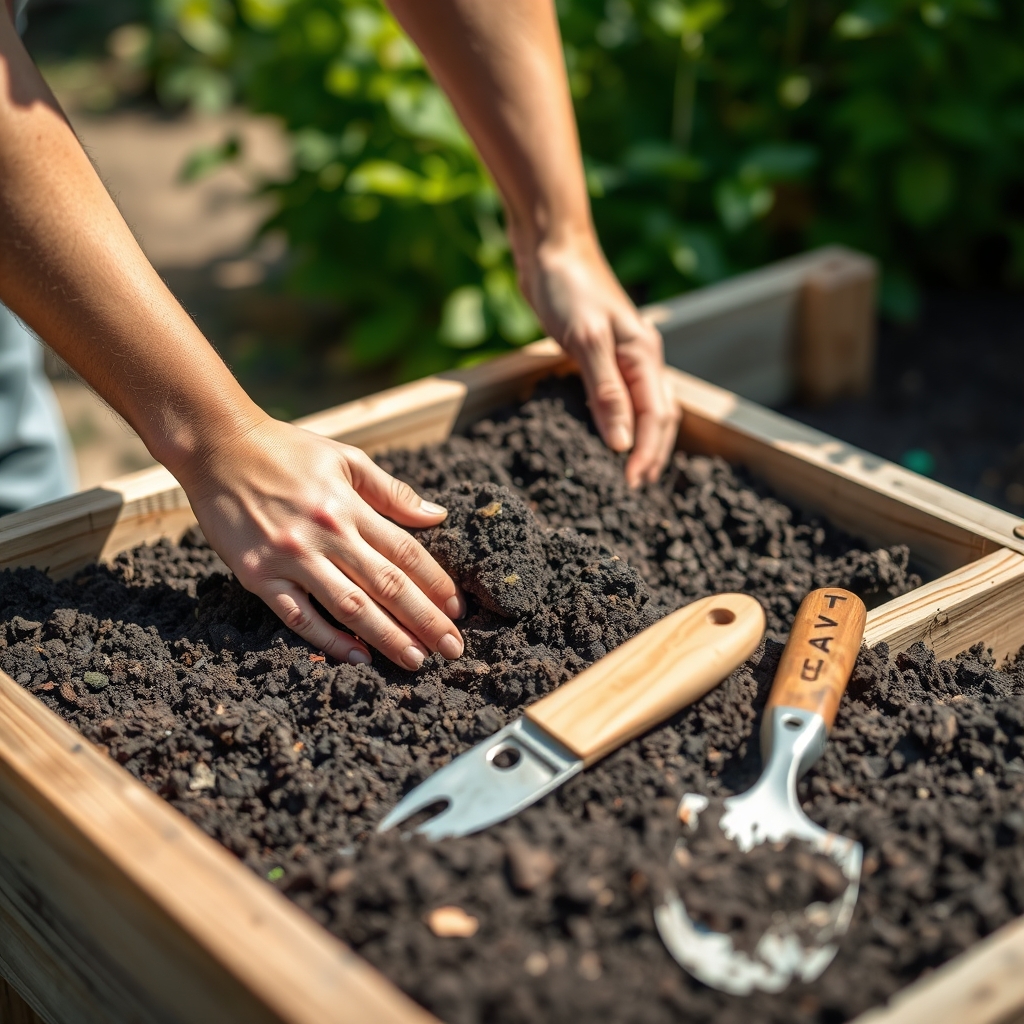
- For extra heat control, add a 2-inch mulch layer to prevent soil drying, especially in metal beds.
- Set up drip irrigation or soaker hoses before planting to save time and water (more below).
Assembly is usually 20 to 30 minutes per bed—don’t rush, and you’ll avoid most common hassles. Modular and stackable kits also let you expand next year without starting over.
Analysis: Real-world tradeoffs and pitfalls to avoid
Picking the perfect raised garden bed for vegetables means thinking beyond upfront cost. Here’s what most product listings and top-ranked articles miss (or gloss over):
Durability vs. Price: Wood vs. Metal vs. Cheap Kits
| Kit Material | Avg Lifespan | Pros | Cons | Best For |
|---|---|---|---|---|
| Untreated Pine/Fir (Wood) | 2–5 years | Low price, easy to work with | Prone to rot, high maintenance | Short projects, flowers |
| Cedar/Redwood (Wood) | 5–10 years | Rot-resistant, natural look | Expensive, sometimes splinters | Veggies, ornamentals, suburban yards |
| Galvanized Steel (Metal Kit) | 15–20+ years | Super-durable, pest/rot resistant, modern look | Higher cost, heat buildup, assembly takes time | Vegetables, high-use gardens, patios |
| Cheap Metal/Coated Kits | 2–7 years | Low cost, quick shipping | Rust, weak coatings, poor depth | Budget DIYers, renters |
| Fabric/Plastic Kits | 2–5 years | Light, portable, cheap | Short life, dries out fast | Temporary beds, small spaces |
Note: Quality galvanized steel beds (like the ones reviewed by NYT Wirecutter) can last up to 20 years, so a higher up-front cost may save money over time (source).
Common buyer complaints and how to avoid them
- Assembly complexity: Many metal kits require 40+ bolts/nuts—assembly can be tedious. Solution: Sort hardware first and use a powered driver.
- Panel leakage/runoff: Water escaping between metal panels is common. Seal seams as a standard step.
- Heat buildup: Unlined, dark metal beds get hot and dry out soil. Liners and mulch fix this; choose light or reflective finishes for sunny, hot spots.
- Rust or coating wear: Harsh winters, rain, or coastal air can cause early rust on cheap raised garden bed kits. Durable galvanized coating is a must for longevity.
- Limited depth: Some cheap kits are too shallow—roots of tomatoes, carrots, or peppers need 12–18 inches; shallow beds are fine for greens but limit crop choice.
- Poor instructions: Watch a brand-agnostic YouTube tutorial if the included guide is unclear.
How to choose the right kit for crops and users
- Crops drive depth: Leafy greens (6-8 inches), shallow-rooted onions/herbs (8-10 inches), root veggies and tomatoes (12-18 inches minimum).
- Bed width: Kits 2-4 feet wide let you reach the middle comfortably. Go longer (6-8 feet) for bigger yields.
- Raised garden bed with legs: Essential for patios, paved areas, or if you have mobility/back concerns. Elevated beds simplify access and keep critters out.
- Assembly tools: Most kits require only a screwdriver, sometimes a rubber mallet or socket wrench. Check product listings before ordering.
- Modularity counts: Choose a system you can expand as you get hooked (most people do).
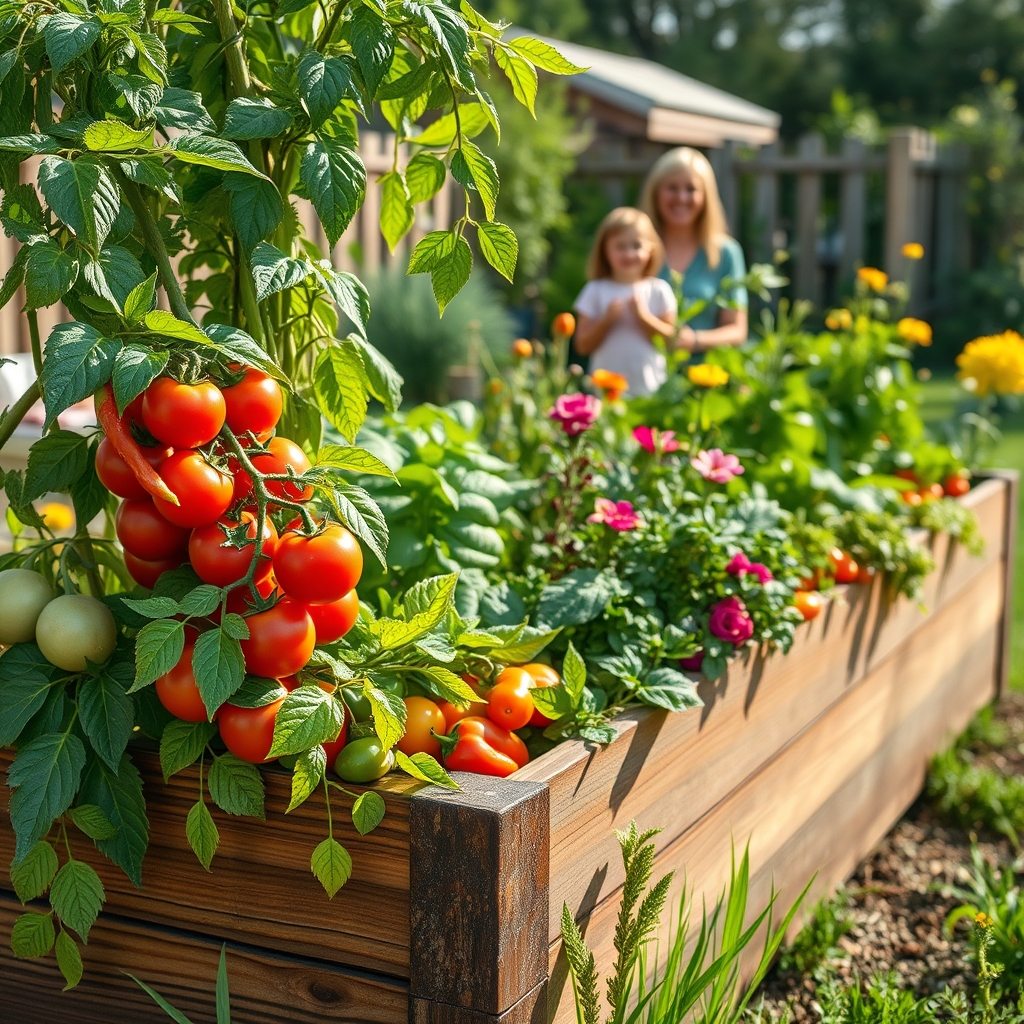
For an in-depth look at quirky garden trends from garden gnome yard decor to functional outdoor upgrades, see our other guides.
Smart add-ons—like moisture sensors and drip irrigation—now integrate easily with metal raised garden bed kits. This reduces water waste and lets busy DIYers set-and-forget watering (sales of sensor-enabled beds are up 15% year-over-year in North America).
Summary: Making your bed (and growing in it)
A Raised Garden Bed Kit is still the fastest upgrade for anyone with bad soil and big planting ambitions. Metal raised garden bed kits deliver unmatched durability, but only if you plan for heat and take your time with assembly. Always check depth and dimensions based on what you want to grow, and consider optional upgrades—like irrigation, mulch, and reflective liners—for long-term success. The best kit isn’t always the cheapest—it’s the one that matches your gardening style, climate, and crop goals for years to come.
Ready to turn that empty yard or patio into your own food oasis? Invest wisely in a kit matched to your needs—and get planting today.
FAQ: Raised Garden Bed Kits
How deep should a raised garden bed be for vegetables?
For most vegetables, aim for a minimum depth of 10-12 inches. Leafy greens can grow in 6-8 inches, but tomatoes and root crops (like carrots) need at least 12-18 inches for proper root development.
How long does it take to assemble a metal raised garden bed kit?
Expect 20–30 minutes per bed for typical metal kits, longer if the kit has many small fasteners. Sorting hardware and having a powered screwdriver speeds up the process.
Are metal raised garden beds safe for growing food?
Yes—modern galvanized steel beds use coatings that are food-safe. Make sure to buy from reputable brands and line the interior with felt or landscape fabric to protect roots and prevent heat transfer.
How do I prevent rust or heat problems in a metal bed?
Line the bed with landscape fabric or felt, mulch heavily, and choose beds with reflective/light finishes. In wet climates, check coating quality and add interior liners to protect metal surfaces.
Is it better to buy a cheap raised garden bed kit or invest in a premium model?
If you’re growing shallow crops for a few years only, a budget kit is fine. For long-term vegetable production or if durability matters, invest in a well-coated galvanized metal raised garden bed kit—longer lifespan means lower cost per year.
—