

### Blog Post:
Earwig Trap is the single most practical, non-toxic method for stopping the jagged leaf and petal damage overnight in gardens—when you use and monitor it the right way. Here’s how to make oil-based earwig traps work just as well or better than one-time chemical sprays, backed by science and real user experience.
Key Takeaways
- DIY oil-based earwig traps are evidence-backed and safer for gardens than most chemical sprays, especially for those who want to protect pollinators and pets.
- Placing traps at soil level, using fish or vegetable oil, and focusing on dense placement near problem areas offer the best results.
- Success depends on regular checking, refining your setup, and integrating traps with habitat and moisture management — not just “set and forget.”
- Quick primer—What earwigs do and why you should control them without chemicals
- Step-by-step guide—How to build and use a reliable oil earwig trap
- Advanced analysis & Common pitfalls
- Conclusion
- FAQ
Quick primer—What earwigs do and why you should control them without chemicals
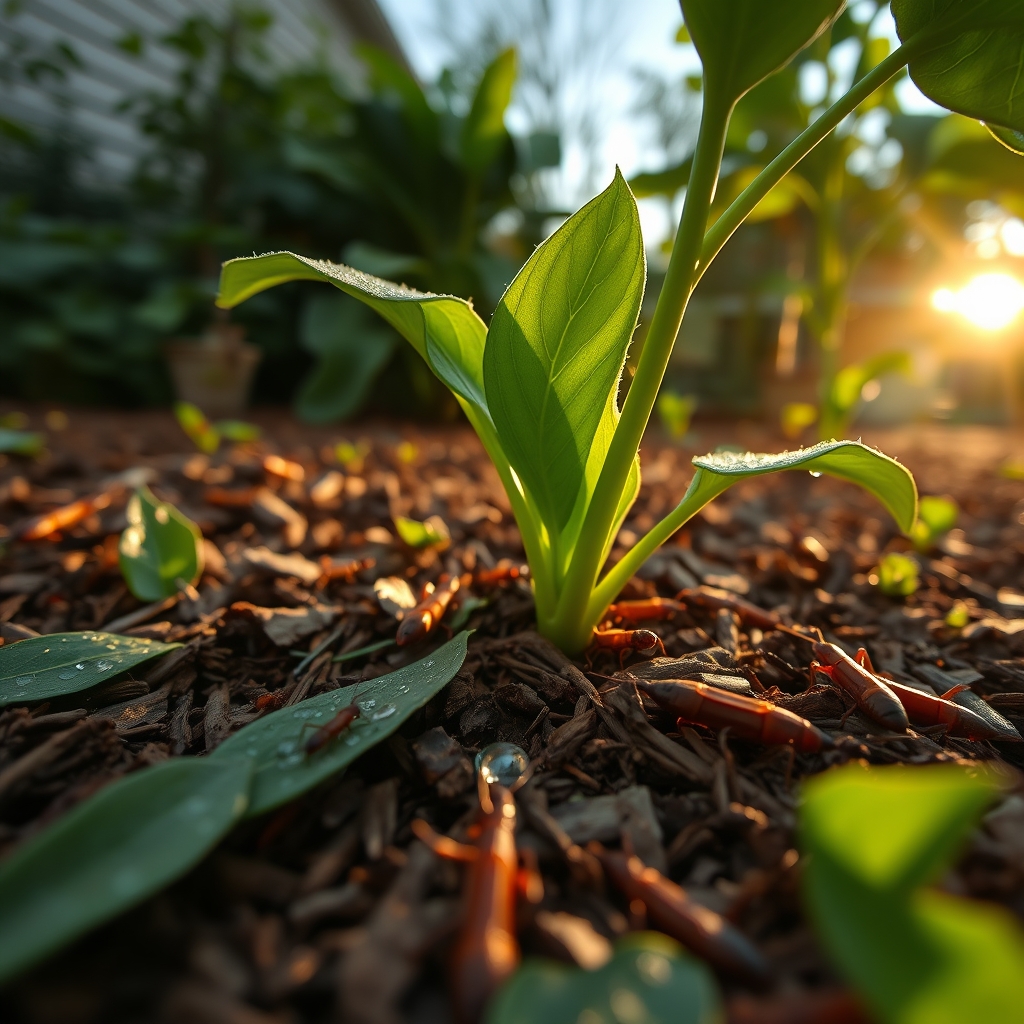
Earwigs are nocturnal pests hiding by day in mulch, crevices, and plant litter. Their feeding leaves ragged leaf edges, uneven holes in flower petals, and small pits in fruit. This damage appears overnight and can often be misdiagnosed as slug damage, but without the telltale slime trail. The most visible signs: irregular holes in petals and chewed-up leaf edges, common on marigolds, dahlias, and strawberries.
Gardeners increasingly choose an earwig trap for garden over chemical sprays because broad insecticides (like carbaryl or malathion) not only kill earwigs but also wipe out pollinators, predatory beetles, and soil-friendly insects. Plus, earwig sprays can risk pets and kids who touch treated surfaces. Most university extension guides recommend trapping and habitat tweaks as the main approach, letting you control earwig numbers while protecting the garden ecosystem.
Step-by-step guide—How to build and use a reliable oil earwig trap
Materials you need:
- Shallow container (tuna can, cat-food can, small glass jar, or disposable aluminum pan)
- Vegetable oil, olive oil, or (best) tuna or sardine oil
- Optional: soy sauce or small bit of bacon grease
- Soapy water (for dumping the catches)
- Tools for burying, small drill for lids (optional for animal-proof design)
Exact method:
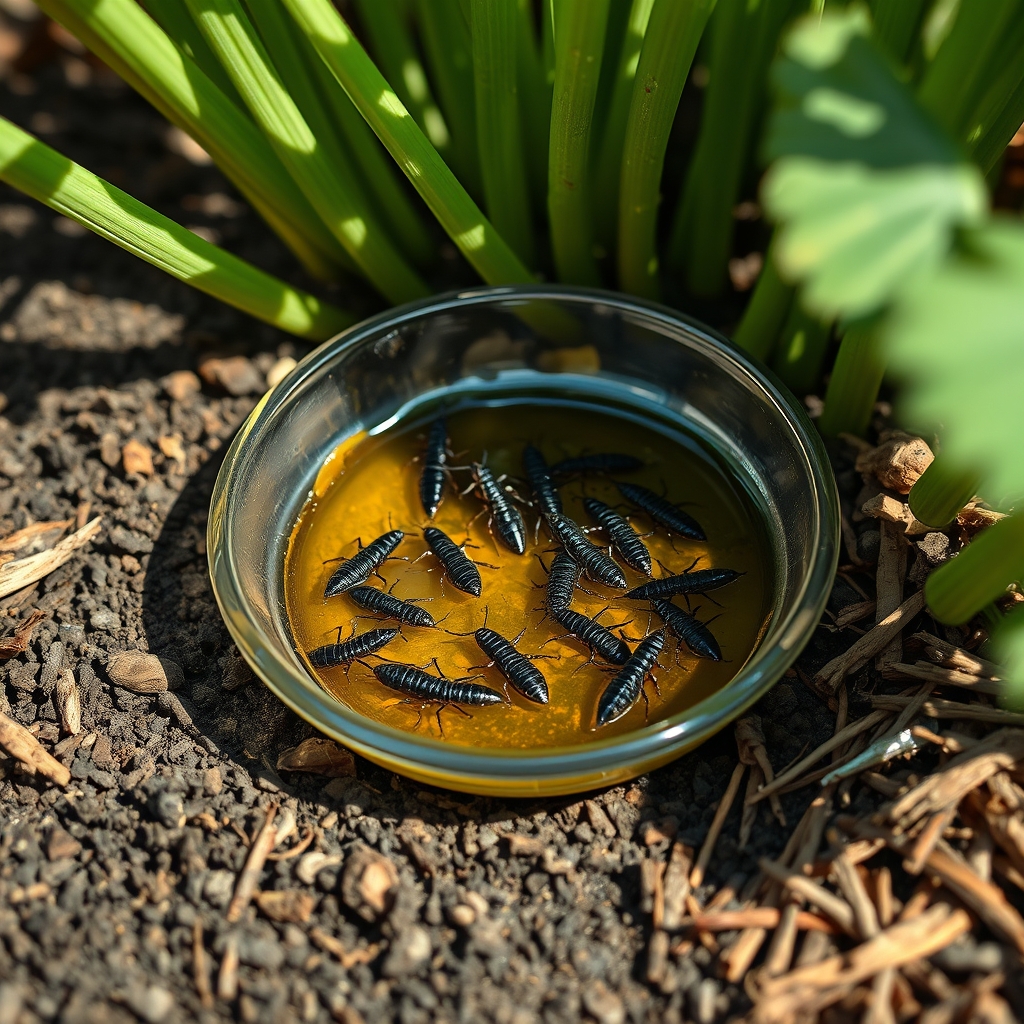
- Pour roughly 1/4–1/2 inch of oil into each container.
- Add a splash of soy sauce or a dab of bacon grease for extra attractant.
- Dig a hole so the container rim is flush with the soil surface. This is key—earwigs are ground crawlers, and traps above soil level catch far less.
- For animal safety or rain protection, punch/drill several 1/4-inch holes in a jar lid, screw it on, and sink the jar lid-up in soil.
- For large beds, use shallow aluminum pans for max coverage—small jar-based traps are great near beds or in pots.
- Set traps throughout garden beds, near shrubs, and under ground covers where earwigs hide by day.
- Check traps daily at dawn. Dump drowned earwigs into soapy water. Refill oil as needed—more frequent after heavy catch or rain.
- Record your catch-per-trap per day in a garden log. When daily catch drops to 0–1 earwig per trap for a week, you can reduce trap numbers.
For a more in-depth setup, check out our mini garden ideas for small spaces to tailor your traps for container gardens, and our raised garden bed kit guide for integrating traps with elevated beds. For fun, consider blending in a garden gnome set to mark where your traps are hidden—practical and adds personality.
Advanced analysis & Common pitfalls
Oil earwig traps are simple, but results depend on precision and routine. Here are the most common issues and the best research-backed solutions:
| Problem | Why it Happens | Practical Fix |
|---|---|---|
| Trap dries out, catches less | Sunlight, wind, or heavy catch rate evaporates or removes the oil | Check and refill daily, use wider containers in dry weather |
| Traps fill with rain, oil floats off | No lid or cover, or trap not sunk flush with soil | Use partial covers, float saucers, or burial with a drilled lid |
| Raccoons/opossums ransack traps | Strong fishy scent or easy-access pan | Use drilled jar lids or place under overturned flowerpot “roof” |
| Messes/odor in disposal | Dumping oil and insects can be unpleasant | Quick-release disposable pans; dump into soapy water and rinse outside, not in sink |
| Low catch/“trap doesn’t work” | Poor placement, insufficient traps, wrong oil, not flush with soil | Add more traps, use fish oil or soy-bacon mix, focus along foundations and ground covers |
Many gardeners underestimate how many traps they need. University and extension sources recommend “numerous” traps across problem spots, always at soil level and checked daily (source). For best results, monitor your catch rate—when it falls to near zero, you’re winning.
Real-world gardening is about integration, not just trapping. Pair earwig traps with basic habitat work: reduce mulch depths that touch stems, remove piled boards or plant debris, fix leaky drip lines, and encourage ground beetles or toads by avoiding pesticides. Learn more about combining non-toxic strategies in our pollinator garden beginner’s guide.

Conclusion
Oil-based traps remain the most effective, cost-conscious Earwig Trap for chemical-free garden defense. Set them up at soil level, check every day, and combine with habitat tweaks to see real improvement in just a week. If catches stay high despite tweaks and integration, consider consulting a local extension for advice on targeted, last-resort products. Otherwise, enjoy your revived, non-toxic garden!
Start now: gather supplies, set your traps, and catch your first earwigs tonight. Share your success or troubleshooting tips with fellow gardeners for even better local advice.
FAQ
How many earwig traps do I need for my garden?
Generally, start with 1 trap per 10–15 square feet in areas with visible earwig activity, or at least 3 per bed. In larger spaces, place traps along all flower or vegetable beds, ground covers, and near foundations. Adjust based on catch rates—if you’re still catching earwigs daily, add more traps or shift locations.
How do I know if my earwig trap is working?
Check and record the number of earwigs caught per trap each morning. If you start with high catch numbers and see them drop to 0–1 earwig per trap for a week, your trapping is highly effective. Keep a simple notebook or phone log to track progress.
What oil works best in a homemade earwig trap?
Fish oil (from drained tuna or sardines) is most attractive, but vegetable or olive oil will also work. For extra lure, add a splash of soy sauce or a dab of bacon grease. See proof from other gardeners at this user example.
Do I still need to use sprays or insecticides?
Most small-scale gardens can manage earwigs without chemicals using traps and habitat management, but very severe, persistent infestations or greenhouse situations may require targeted insecticide as a last resort. Always use products specifically labeled for earwigs and follow all instructions. See expert advice at this university extension page.
How can I integrate traps with other non-chemical controls?
Pair regular trapping with moisture control (reduce overwatering, fix leaks), habitat cleanup (remove mulch against stems, seal cracks), and encourage natural predators (ground beetles, toads). This integrated approach keeps earwigs low long-term. More steps at our drought tolerant grass seed guide.
—