

### Blog Post:
Cold Plunge Tub setups are quickly becoming the go-to for backyard recovery, but most guides leave homeowners lost between high-priced commercial units and risky DIY cold plunge attempts. This playbook unpacks real 2024 features, price data, and pitfalls—so readers confidently decide how to buy, build, or maintain a cold plunge tub for any backyard or patio.
Key Takeaways
- Cold Plunge Tub options now range from $1,600 DIY kits to $10,000+ premium models, with major portability, durability, and maintenance tradeoffs at each tier.
- Most guides skip critical maintenance, winterizing, and electrical/code details—this playbook delivers step-by-step backyard cold plunge know-how.
- A clear buyer’s matrix helps renters, DIY’ers, and buyers quickly match solutions and costs to their actual needs and budget.
- Quick decision checklist — Should you buy or build?
- 2024 price & feature comparison — three tiers explained
- Best portable solutions (compact chillers + tubs)
- Common buyer complaints & practical tradeoffs
- DIY cold plunge setup — realistic options and cost breakdown
- What top articles miss — must-have DIY & maintenance details
- Maintenance plan — weekly, monthly, quarterly checklists
- Operating costs & energy calculator (how to estimate)
- Installation, wiring & code compliance (what homeowners must know)
- Noise, durability & warranty — what to test before buying
- Troubleshooting quick guide (cloudy water, odors, temp drift, foam)
- Final decision matrix & recommended picks by buyer profile
- FAQ
Quick decision checklist — Should you buy or build?
If you’re considering a Backyard Cold Plunge, the buy-vs-build call comes down to these six real‑world priorities:
- Budget: Can you spend $4,000–$10,000+ (premium tub) or do you need a $1,600–$2,000 portable/DIY kit?
- Permanence: Do you want a permanent spa, or the option to pack up and move?
- Portability: Renting, moving cities, or want easy seasonal storage? Portable chillers and inflatable tubs win.
- Noise tolerance: Are you OK with compressor noise, or do you need ultra-quiet operation?
- Willingness to maintain: DIY setups require more sanitizer, filter, and water chemistry work.
- Electrical access: Is there a safe, dedicated GFCI outdoor outlet nearby? DIY and premium units both need proper wiring.
Premium standalone tubs cost about $4,000–$10,000+, while portable mid‑range systems like the HomePlunge H3 are $2,999 and the Bella is $1,999. Inflatable kits/tubs start at approximately $1,600; with a premium chiller, expect $3,800–$6,500. Your “must-have” features and willingness to tinker should drive this decision.
2024 price & feature comparison — three tiers explained
Today’s Cold Plunge Tub market splits into three clear tiers:
| Tier | Price | Typical Capacity | Temp Range | Key Materials | Warranty | Pros | Cons |
|---|---|---|---|---|---|---|---|
| Premium Standalone | $4,000–$10,000+ | 70–100 gal | 34–40°F | Stainless steel, acrylic | 1–3 yr | Full automation, built-in chiller, smart/app controls, best longevity | Heavy, permanent install, high upfront cost |
| Mid-Range Portable | $1,999–$2,999 | 65–80 gal | 34–39°F | HDPE, inflatable, liner barrels | 1 yr (sometimes 3) | True portability, 1-HP chiller, plug-and-play, some app control | Separate tub needed, less durable, basic filtration only |
| Budget Inflatable/DIY | $1,600 (tub) $3,800–$6,500 (with chiller) |
70–100 gal | 39–45°F | Inflatable PVC, stock tank | 1 yr | Lowest upfront, easy DIY upgrades | Wobbly/unstable, short warranty, inefficient cooling, more frequent maintenance |
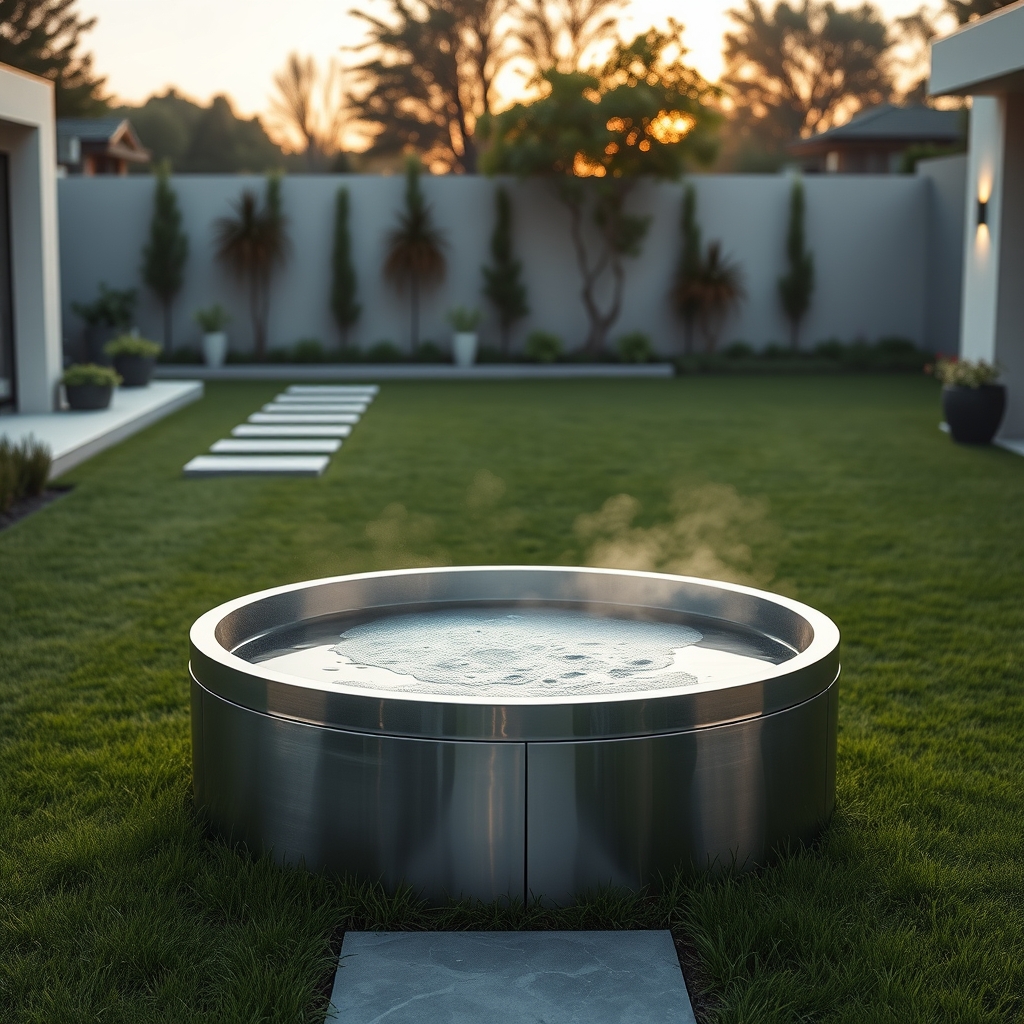
Entry prices for premium units cluster at $4,000–$6,000, with top-tier builds surpassing $10,000. External review testing confirms premium options give the best insulation and digital control, while portable chiller+tub kits (HomePlunge H3 and Bella) offer plug-in convenience for renters or travelers. Inflatable or DIY kits are budget picks, but expect more hands-on work and potential for wobbly entrances and exits (see testing details).
Best portable solutions (compact chillers + tubs)
If your goal is a portable cold plunge tub with chiller for a small backyard or apartment, these are the standout 2024 picks:
- HomePlunge H3 ($2,999): 1-HP chiller to 34°F, small 2 sq ft stored footprint, Bluetooth/app control, compatible with most tubs. See more.
- Bella ($1,999): Compact, fits basic barrels/tubs, fast-chill to 39°F, app control on higher trim.
- Inflatable barrels ($1,600 and up): Deflate for storage or travel, ultra-light, but less stable (Forbes reviewer notes wobbly entry/exit).
Most portable chillers require routine filter swaps and weekly sanitizing. Some add app features, schedules, and even heating modes for year-round use (source).
Footprint for a chiller+tub combo averages 1–2 sq ft when stored, versus up to 40 sq ft for luxury built-ins. These solutions are the best match for renters, anyone moving often, or for sun-exposed decks without year-round shelter.
Common buyer complaints & practical tradeoffs
Despite the buzz, real users and test reviewers call out recurring complaints with every Cold Plunge Tub type:
- High upfront cost for premium units ($4,000+).
- Heavy, hard-to-move designs—especially permanent/insulated tubs.
- Inflatable barrels can wobble, making entry and exit awkward.
- Cheaper chillers often skip app/smart features.
- Noisy compressor cycles—especially on budget chillers.
- Short 12–18 month warranties on low-cost options.
- Maintenance hassles (cloudy or stinky water, biofilm, frequent pH testing).
To reduce headaches, always check:
- True chiller wattage and dB noise (ask sellers for a live demo, or check test videos).
- How the filter and drain system operates—if hard to access, you’ll hate monthly cleaning.
- Warranty period and what’s actually covered (some exclude liners or chillers).
For cheaper DIY tubs, plan for more frequent manual sanitizer and shock chlorination. The best portable chillers (HomePlunge H3/Bella) include basic filtration but still require hands-on care compared to top-tier built-ins.
DIY cold plunge setup — realistic options and cost breakdown
For makers and budget hawks, building a diy cold plunge setup gets you cold water, fast—but is rarely “set it and forget it.” Here are your main paths for a cold plunge tub for backyard DIY:
- Stock tank conversion: 70–100 gal plastic trough, $100–$200; add a $1,600 chiller for 39–45°F cooling.
- Chest freezer build: 14–20 cu ft freezer ($400–$800), waterproof caulk/liner ($80), GFCI plug conversion ($40), and optional aquarium chiller ($1,500+). Max chill: 38°F, but safety risks (shock, cracks, mold).
- Insulated wood or steel tub: $600–$1,600 in DIY materials, but requires serious time, tools, and insulation skill.
Total cost: From $1,600 to $3,800 for inflatable/stock tank + basic chiller. Add premium chillers, you’ll hit $3,800–$6,500 easily. Most DIY options cap out at 39–45°F. Expect more filter, sanitizing, and monitoring effort than plug-in lux models.
What top articles miss — must-have DIY & maintenance details
Most “best of” guides skip these crucial DIY cold plunge steps:
- Winterization: Fully drain, blow out lines, and cover before first frost. Store chillers in a dry, climate-controlled spot—never outside all winter.
- Water chemistry protocol: Decide on bromine, chlorine, or mineral sanitizer for regular dosing. Test at least weekly, adjust pH, and shock as needed. For detailed water maintenance, see garagegymreviews.
- Energy usage: Budget $20–$45/month for a 1HP chiller running 4–6 hours daily in summer; 1.2–1.5kWh per hour at $0.18/kWh.
- Noise: Low-cost chillers and compressors often exceed 50dB; measure at 1 meter before buying, especially if installing near bedrooms/patio.
- Electrical/code: Run a dedicated outdoor GFCI outlet. Any chest-freezer or DIY must have code-compliant wiring; when in doubt, call a licensed electrician.
- Liner/frame durability: Inflatable PVC lasts 1–3 years max. HDPE barrels or steel/wood last longer but need regular inspections for cracks, rust, and mildew.
- Smart home notes: Only premium chillers offer Alexa/HomeKit integration or scheduling. Budget DIY builds are generally not smart enabled.
Maintenance plan — weekly, monthly, quarterly checklists
A cold plunge that’s easy on day one can turn into a swamp without tight maintenance. Based on maintenance guides and user reviews:
Weekly
- Run chiller/circulation pump for 4–6 hours per day during heavy use periods.
- Test and adjust sanitizer (chlorine/bromine/mineral); shock if water is cloudy or has odor.
- Wipe down all surfaces, including lid and handles, to prevent biofilm and algae.
Monthly
- Replace or clean filter cartridge if the chiller uses one.
- Fully drain and refill water to prevent buildup (more frequent for sun-exposed or heavy-use tubs).
- Inspect seals, liner, inflatables, and hoses for cracks or mold.
Quarterly/Seasonally
- Thoroughly deep-clean all plumbing and hard-to-reach areas.
- Fully winterize before risk of freezing: drain, blow out lines, store chillers indoors.
Buyers frequently report maintenance struggles with cloudy/odor issues and fast-growing biofilm. Skipping water chemistry checks risks skin issues and hardware corrosion—especially outdoors.
Operating costs & energy calculator (how to estimate)
Most Backyard Cold Plunge users underestimate power use. Here’s how to ballpark your bill:
- Find your chiller’s wattage. A typical 1-HP chiller (as in HomePlunge H3) draws 1,000–1,200 watts (1.0–1.2 kW).
- Average daily runtime: 4–8 hours depending on insulation and ambient temp.
- Monthly kWh: 1 kW x 5 hr/day x 30 days = 150 kWh/month.
- Estimated bill (at $0.18/kWh): 150 kWh x $0.18 = $27/month.
- With poor insulation or hot weather, double that estimate.
Premium built-ins have denser insulation and run less—they might average $15–$30/month for similar use. Inflatable tubs or barrels need longer cycles and cost more. For more detail, garage gym reviews break down the energy factors.
Installation, wiring & code compliance (what homeowners must know)
Installing a Cold Plunge Tub—especially if using a chiller, chest freezer, or pump—means you must:
- Plug into an outdoor 120V GFCI outlet (required by code, NEVER standard indoor plugs).
- Keep extension cords short and heavy duty (12AWG minimum), or not at all (direct plug best).
- For permanent installs or premium tubs, use dedicated outdoor outlets with weatherproof covers.
- If running a wire for a chiller or freezer, pull a permit for any new wiring. Hire a licensed electrician for any outdoor trenching or unfamiliar electrical work.
- Always test outlet protection with a GFCI tester before use. Water and electricity do not mix.
Homeowner install errors cause more cold plunge downtime and safety recalls than any other factor. If you are unsure, hire a professional. Missing these basics can void insurance and warranties.
Noise, durability & warranty — what to test before buying
Before committing to any Cold Plunge Tub, test the following on your model or ask the retailer:
- Compressor/chiller noise: Check decibels at 1 meter, especially for portable chillers; 48dB is considered “quiet.”
- Materials and construction: HDPE and stainless steel last longest; inflatables and PVC may need replacement within 2 years.
- Liner/frame: Inspect welded seams, entry step stability, and resistance to scratches/punctures.
- Warranty coverage: Standard is 1 year on entry/mid-range tubs (sometimes 3). Read the fine print for what’s actually covered—liners and chillers are often exceptions.
Ask for a live demo or video proof of noise cycle and material tests before buying. Many unhappy buyers are stuck with noisy compressors or fast-failing liners.
Troubleshooting quick guide (cloudy water, odors, temp drift, foam)
The three most common Cold Plunge Tub headaches and fixes:
- Cloudy or green water: Check filter for blockages, increase sanitizer dose, and shock treat. Drain and refill if neglected.
- Bad odors: Wipe down lid and surfaces to remove biofilm. Use an oxidizing shock (non-chlorine) and improve water circulation.
- Foam or biofilm buildup: Remove and clean all surfaces. Replace filter if clogged. Adjust pH back into neutral range (7.2–7.6).
- Temperature drift: Confirm chiller cycles, check for leaks or insulation failures, and reset the thermostat/power as needed.
For chronic issues, consult maintenance expert guides like this in-depth troubleshooting playbook.
Final decision matrix & recommended picks by buyer profile
Use this quick matrix to match your situation with the right Backyard Cold Plunge path (and see real, current model picks):
| Profile | Recommendation | Budget | Example SKU/Template |
|---|---|---|---|
| Renter, Traveler, Apartment | Inflatable + portable chiller (easy to deflate/store) | $1,600 (tub) + $3,800–$6,500 (chiller) | Bella, HomePlunge H3, Solstice, “stock tank DIY” |
| Year‑round backyard installation | Insulated premium tub with built-in chiller, app features | $4,000–$10,000+ | The Plunge All-In, Renu Therapy, Morozko Forge |
| Frugal DIYer | HDPE stock tank + compact chiller | $1,600–$2,500 | Rubbermaid 100-gal tank + 1HP aquarium chiller |
For more budget-related outdoor projects, see our raised garden bed kit guide or explore drought-friendly landscaping with our drought tolerant grass seed recommendations.
If you want a truly whimsical touch for your backyard, consider checking out garden gnome decor tips.
Ready to commit? Compare warranty, energy, and noise before you buy, or build with a checklist and call a certified electrician for every new chiller or freezer install. Your best backyard Cold Plunge Tub should match your space, season, and sanity.
FAQ
Can I use regular tap water in my cold plunge tub?
Yes, but you’ll need to treat it with chlorine, bromine, or a mineral sanitizer and test weekly for safe pH and sanitizer levels.
How often do I need to change the water in a cold plunge tub?
Every 3–4 weeks for heavy use, sooner if water gets cloudy or starts to smell—even with filtration.
What’s the quietest option for a backyard cold plunge?
Premium standalone tubs with insulated compressors are the quietest; always ask for a real dB measurement before buying a chiller.
Is a DIY cold plunge setup safe?
If wired properly to code, yes. Stock tank/plastic barrels are safe if fitted with a GFCI outlet and managed for water maintenance. Chest freezers require extra caution due to electrical and mold risks.
Can I use my plunge tub in winter?
Yes, but you must fully winterize and drain before freezing temps if not rated for outdoor year-round exposure. See our maintenance section for step-by-step winterization.